
Getting Started
Set up with your favorite AI
 ChatGPT
  Claude
 Gemini & other AI
Copy the setup prompt into your AI. Work through each step together, from checking your kit to getting it running.
 Open Gemini
 Copy the prompt, then paste it into Gemini’s message box.
View prompt
Find your starting point
From choosing your first kit and trying the demo to writing code and designing your own leaf, start with what you want to do.
New to Leafony? Learn how it worksHave a kit? Start with the demo
Basic Kit / Basic Kit 2 and ESP32 Wi-Fi Kit / Kit 2 come with a demo installed. If the original program is still on the MCU, you can try it before setting up a development environment.
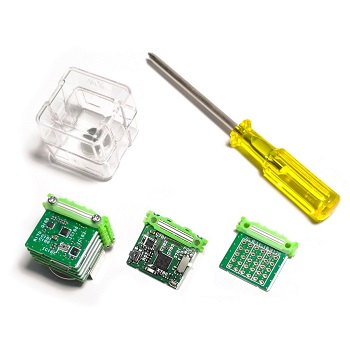
Basic Kit 2
Basic Kit 2 includes both AVR and STM32 MCU leaves. It ships with the AVR leaf assembled, so start with the Basic Kit guide.
-
First: view sensor readings over BLE
Prepare a CR2032 battery and a compatible phone or PC. Follow the Basic Kit guide to connect and view the readings.
Try the AVR demo -
Next: try the STM32 demo
Follow the Basic Kit 2 guide to swap the MCU and try sensor logging and BLE beacons.
Try the STM32 demo
Guides for other kits you own
- Cellular LPWA Cat-M1 KitCheck AP03B + AI05 requirements and differences from the reference example. Kit-specific operating instructions are in preparation.
- Basic KitView sensor readings over BLE with the preinstalled AVR demo.
- ESP32 Wi-Fi Kit / Kit 2Use three AAA batteries and connect to the kit's Wi-Fi to view touch sensor readings in a browser.
Check the required items and supported devices in each guide. If you have replaced the demo program, continue with environment setup and the examples.