
Read temperature, humidity, pressure and acceleration with AI05
Use this page with AI
Explore with your favorite AI
 ChatGPT
 Claude
Gemini & other AI
Copy this page’s context into your AI to explore how it works and what you can build.
 Open Gemini
Copy the prompt, then paste it into Gemini’s message box.
View prompt
Table of contents
Watch temperature and humidity readings arrive from a tiny board, then gently tilt it to see the motion readings change. Try this first experiment with AI05 Env Sensors and the official read_sensors sample.
The sample displays temperature, humidity, pressure and 3-axis acceleration (acceleration along X, Y and Z) on your PC every second.
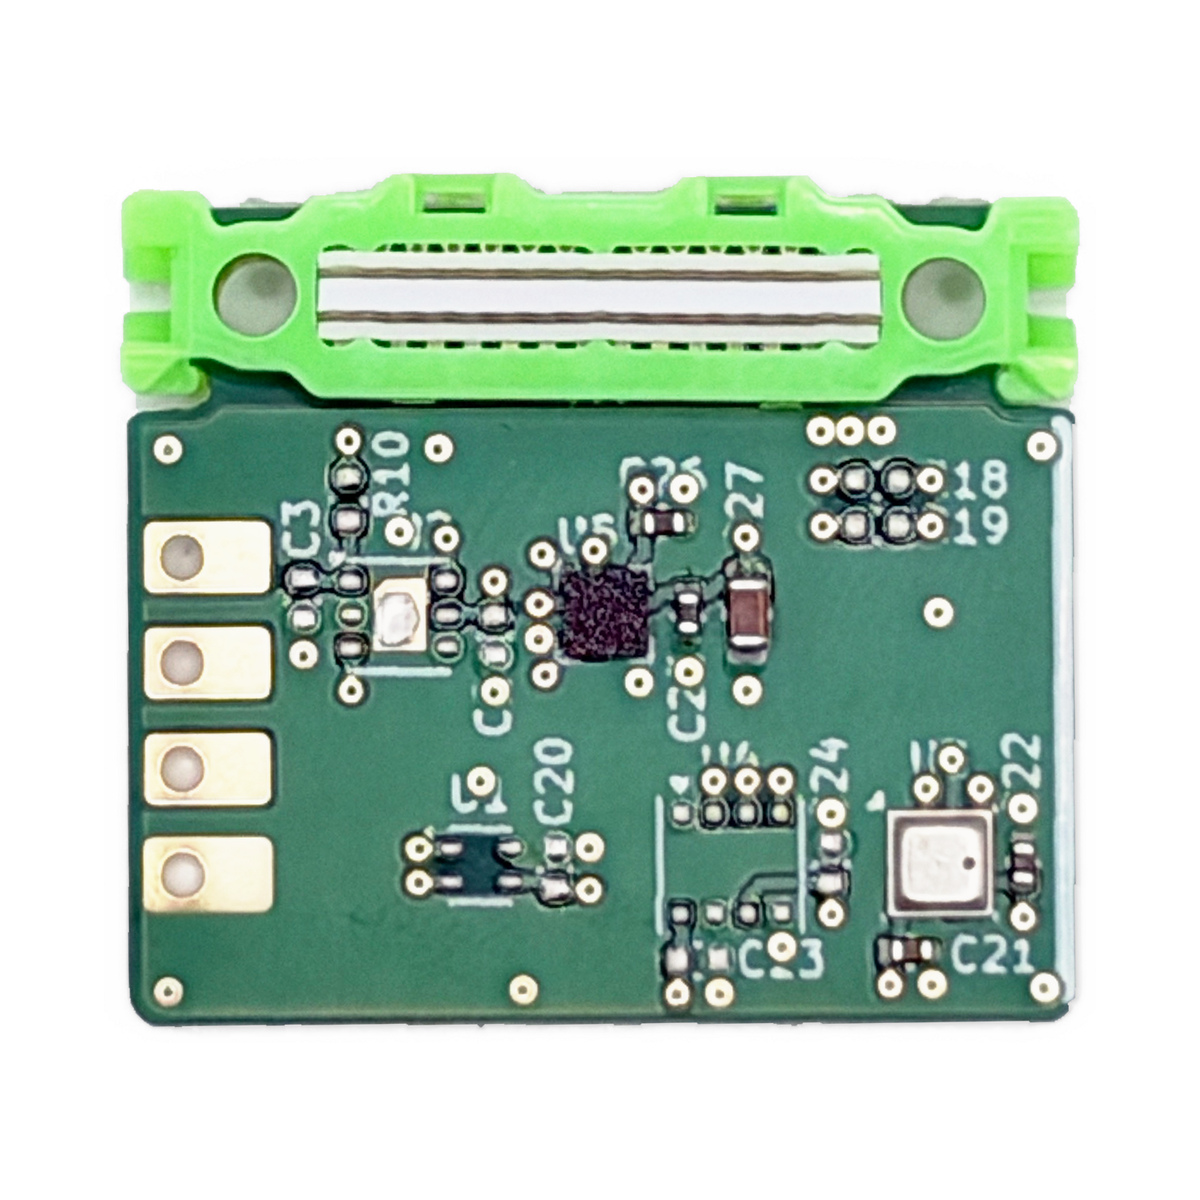
AI05 Env Sensors product photo. Combine this leaf with AP03 to run the program, and with the leaves needed for the PC connection.
What you need
| Equipment | Purpose |
|---|---|
| AP03 STM32 MCU | Run the sample |
| AI05 Env Sensors | Measure with BME280 and LIS2DW12 |
| USB serial leaf and a data-capable USB cable | Connect to the PC |
| Suitable power and fastening parts | Supply 3.3 V and secure the leaves |
| PC and PlatformIO | Build, upload and monitor serial output |
Disconnect all power, including USB, batteries and external supplies, before changing leaves. Check assembly and replacement and AI05 connection precautions. AI01 4-Sensors and AX06 Grove&5V have conflicting signals or addresses.
This sample targets AP03. Operation on AP03B or other MCUs has not been verified. If your tools are not set up, start with PlatformIO for STM32.
Get and build the sample
Download the AI05 Env Sensors repository. In VS Code, open platformio/read_sensors. From a terminal:
git clone https://github.com/leafony/ai05-env-sensors.git
cd ai05-env-sensors
pio run -d platformio/read_sensors
Dependencies are installed from the supplied platformio.ini. The first build may take several minutes to download the framework and libraries.
Upload to AP03
Uploading replaces the program currently stored on AP03.
- Run
pio device listto find the USB serial port. - Close any serial monitor using that port.
- Move AP03 to Program, check that the mode LED is on, and press Reset once.
- Upload with this command:
pio run -d platformio/read_sensors -t upload --upload-port /dev/cu.usbserial-XXXX/dev/cu.usbserial-XXXX is an example. Replace it with the detected port; on Windows it may be COM3.
See the AP03 Program / Run and Reset illustrated guide for switch locations and the operation sequence. Avoid using “up” and “down” alone when the leaf has a different orientation.
Return to Run and read the output
After confirming that the upload completed, return the switch to Run and check that the LED is off. Open the monitor at 115200 bps, then press Reset once.
pio device monitor -d platformio/read_sensors --port /dev/cu.usbserial-XXXX --baud 115200Success means seeing BME280 (0x76): ready and LIS2DW12: ready at 0x18 at startup, followed by readings every second. SHT40 and SGP40 are not fitted in the standard configuration, so skipped (optional) is expected.
Output verified on hardware
This log was captured on November 6, 2026 with AP03, a standard AI05 and a USB serial connection, using the official sample at commit a6b318f. The sample source was built without modification. The written contents were verified, and startup was checked again after returning the switch to Run.
AI05 Env Sensors / Leafony AP03
I2C: SDA=PB9, SCL=PB8, 400 kHz; sample interval: 1000 ms
BME280 (0x76): ready
SHT40: not detected at 0x44; skipped (optional)
SGP40: not detected at 0x59; skipped (optional)
LIS2DW12: ready at 0x18

--- uptime=33376 ms ---
BME280: temperature=30.62 C, humidity=34.83 %RH, pressure=1006.17 hPa
LIS2DW12: x=-0.467 g, y=-0.626 g, z=0.622 g
Temperature is in °C, humidity in %RH, pressure in hPa, and acceleration in g. Acceleration includes gravity even when the board is stationary. Slowly tilt the board to see X, Y and Z change. These are example sensor readings from this session, not an accuracy comparison test.
A note on this session: we worked with an AI agent
For this check, a PC-capable AI agent obtained, built and uploaded the sample and checked the readings. A person operated Program / Run and Reset.
Doing the same with AI requires tools and permission to access PC files and USB serial devices. A text-only chat cannot directly operate connected hardware. You can also follow the steps above to run the same sample without AI.
What to try next
- Change
kSampleIntervalMsto adjust the sampling interval. - Motion detection and post-trigger recording: try interrupts, FIFO recording and waveform display.
If the sample does not run, check Program / Run and Reset, exclusive use of the serial port, and the 115200 bps setting. If sensors are not detected, check power, I2C connections and pull-ups.