
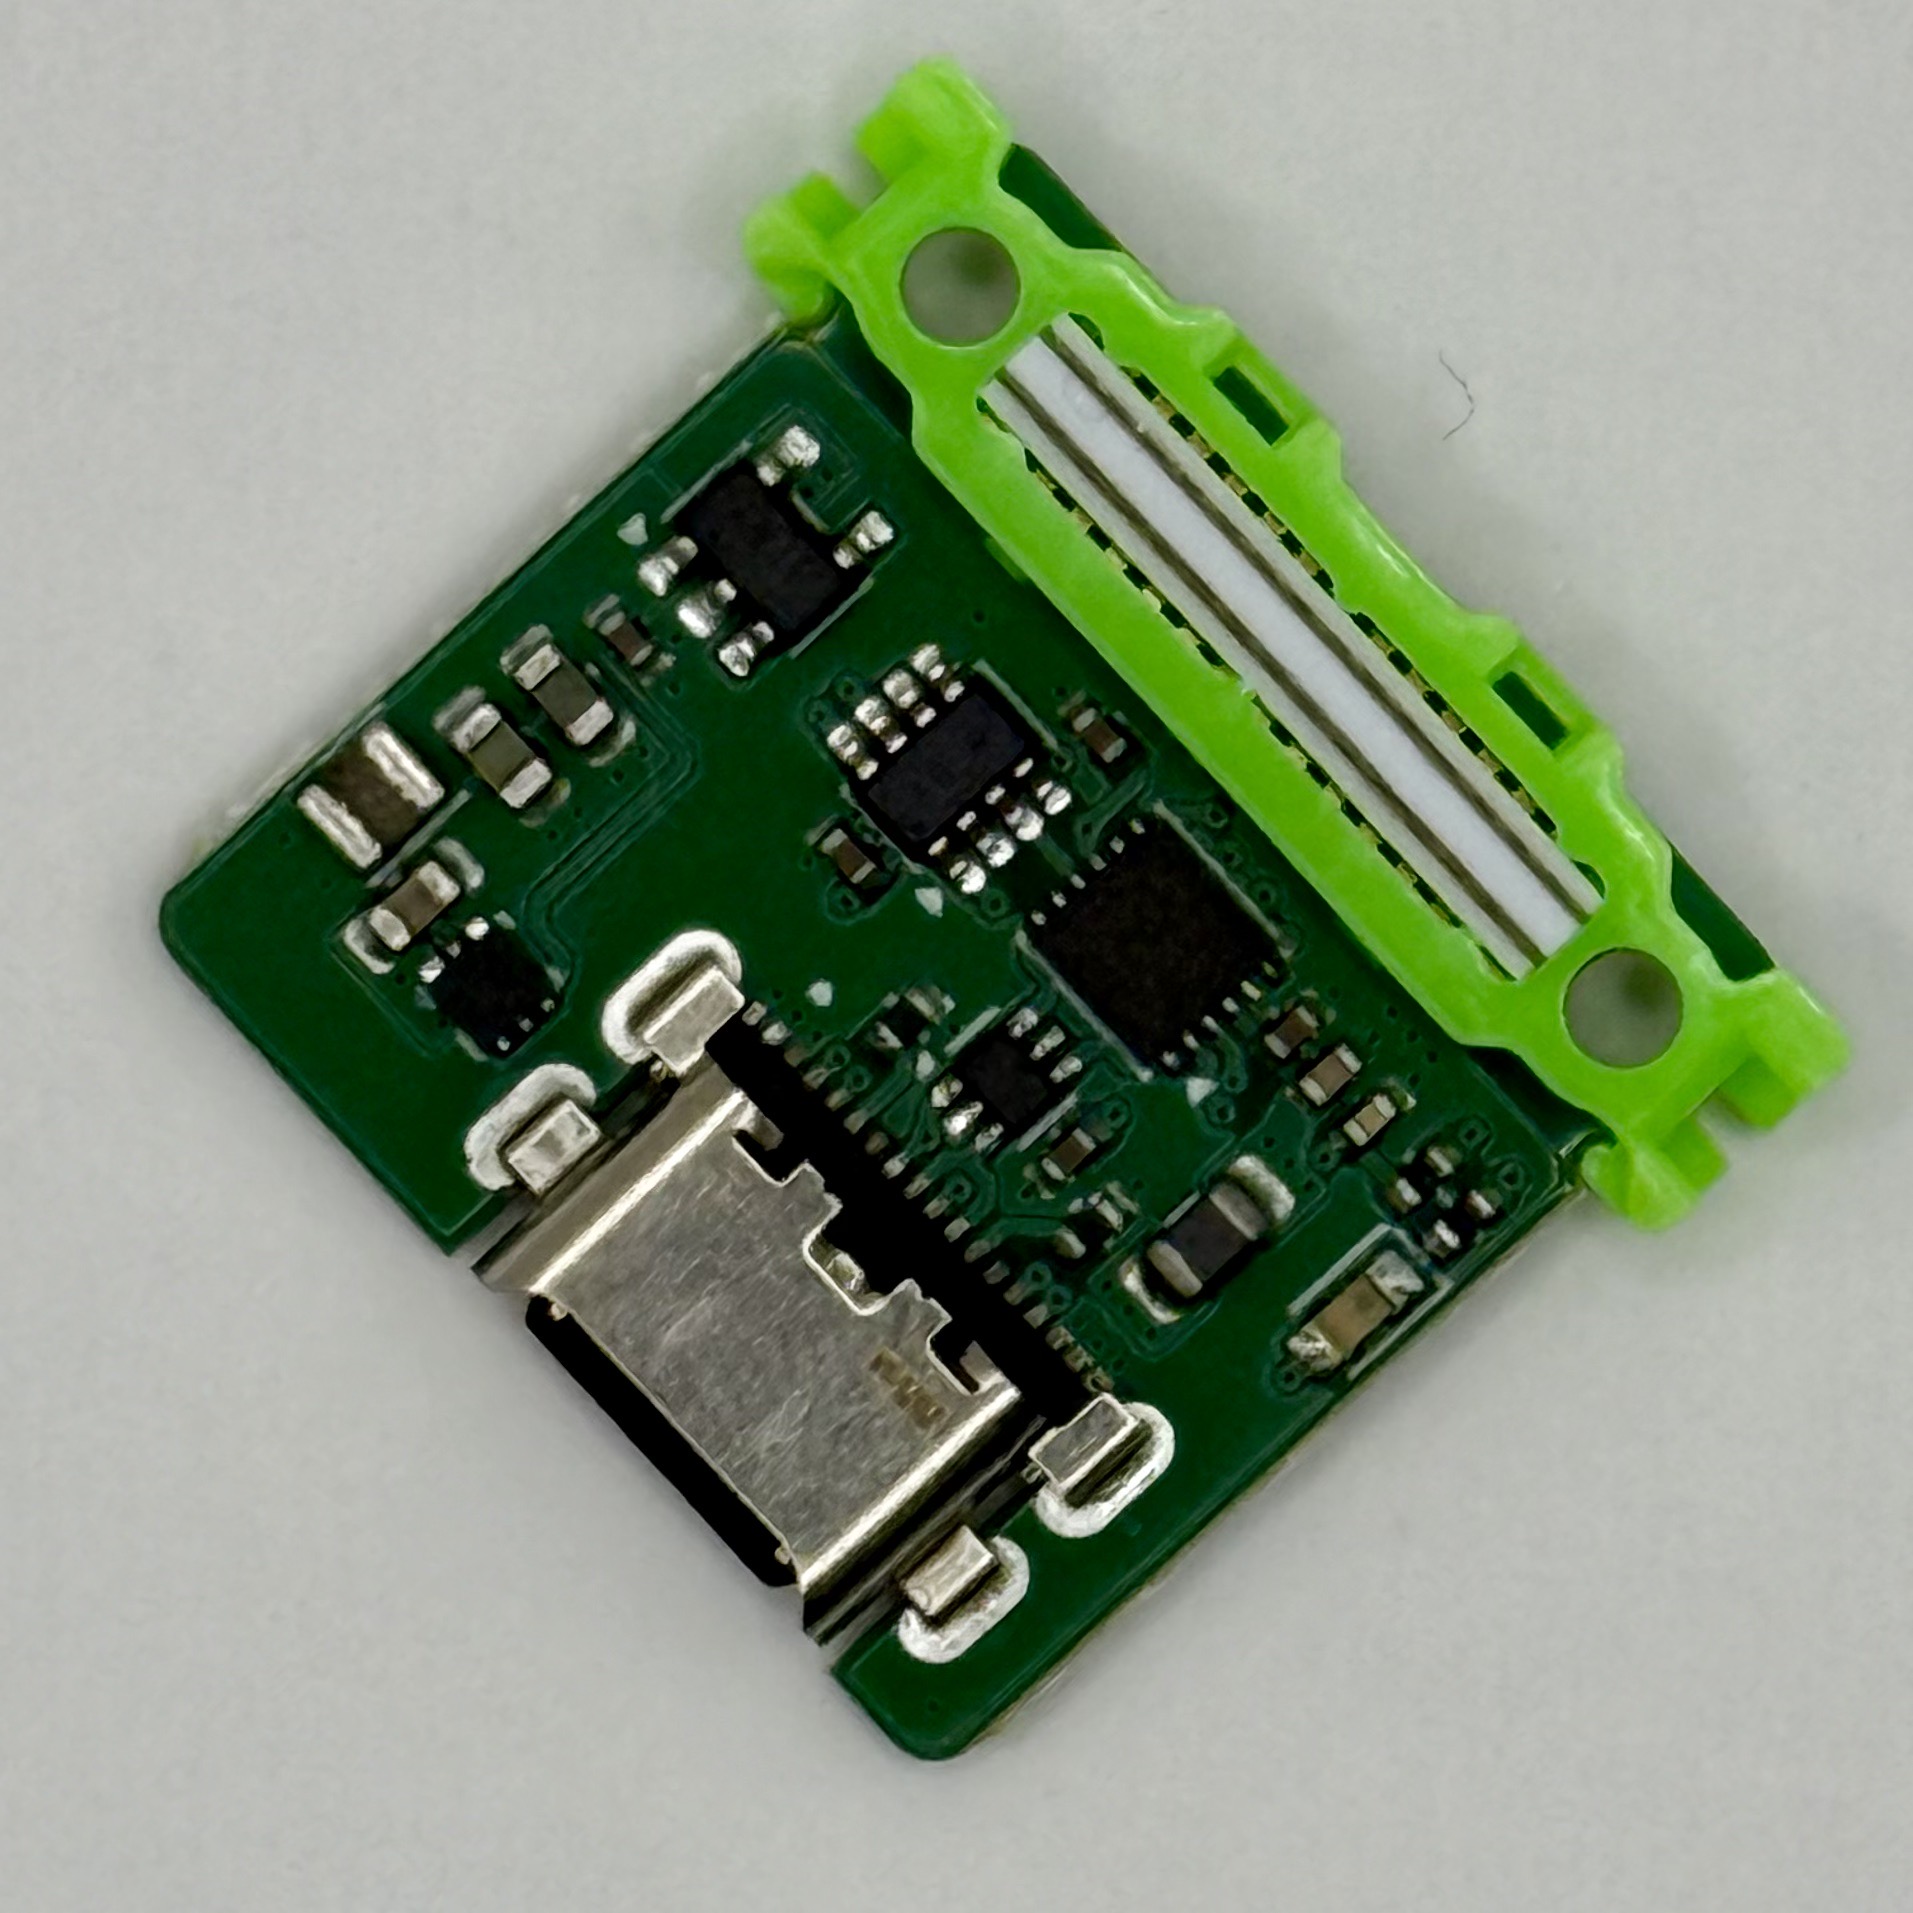
AZ01C USB-C
Explore with your favorite AI
 ChatGPT
  Claude
 Gemini & other AI
Copy this page’s context into your AI to explore how it works and what you can build.
 Open Gemini
 Copy the prompt, then paste it into Gemini’s message box.
View prompt
Overview
Section titled “Overview”Connect a computer to Leafony over USB-C to program the MCU, inspect its output through UART serial communication, and supply 3.3 V power to the Leafony Bus from USB. Programming AP01 requires the manual reset described below.
AZ01C is a USB-C to UART leaf whose published design uses the FTDI FT234XD. See the Japanese technical reference and public design repository for the full circuit and electrical specifications.
Uploading to AP01 AVR MCU
Section titled “Uploading to AP01 AVR MCU”In the published schematic, FT234XD has no DTR pin and its RTS pin is unconnected. AZ01C therefore has no connection that drives the MCU RESET signal. The D2 in the IC pin name RTS/D2 is an alternate IC function, not a connection to Leafony Bus D2.
- In Arduino IDE, select Arduino Pro or Pro Mini, processor ATmega328P (3.3V, 8 MHz), and the serial port that belongs to AZ01C.
- Run Verify to check compilation. Close other IDE instances, serial monitors, or applications using the same port.
- Hold the AP01 reset switch while starting Upload. Release it when the IDE switches from compiling to uploading.
- Check that the IDE reports upload completion. If it reports
not in sync, check the board and port settings and try adjusting the release timing.
The time available after reset depends on the bootloader installed on AP01. Match the reset release to the start of uploading rather than relying on a fixed number of seconds.
If the LCD or another leaf covers the switch, disconnect all power sources, including USB and batteries, before removing that leaf. After uploading, disconnect all power again before rebuilding the stack. Unplugging USB does not power-reset the MCU while another supply remains active.