
AI04 LCD
Explore with your favorite AI
 ChatGPT
  Claude
 Gemini & other AI
Copy this page’s context into your AI to explore how it works and what you can build.
 Open Gemini
 Copy the prompt, then paste it into Gemini’s message box.
View prompt
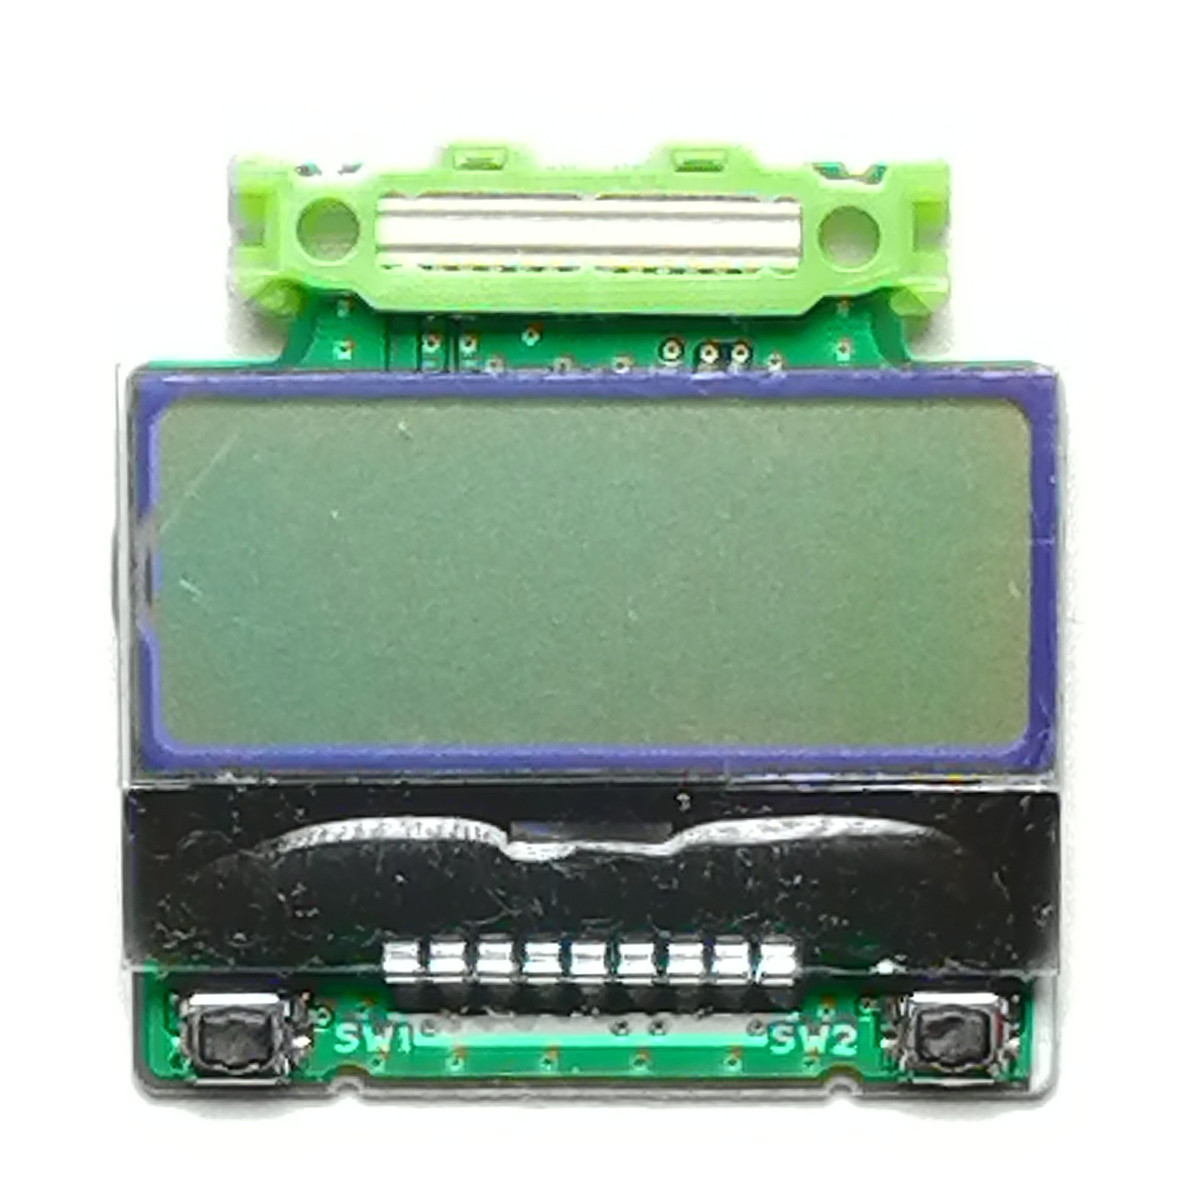
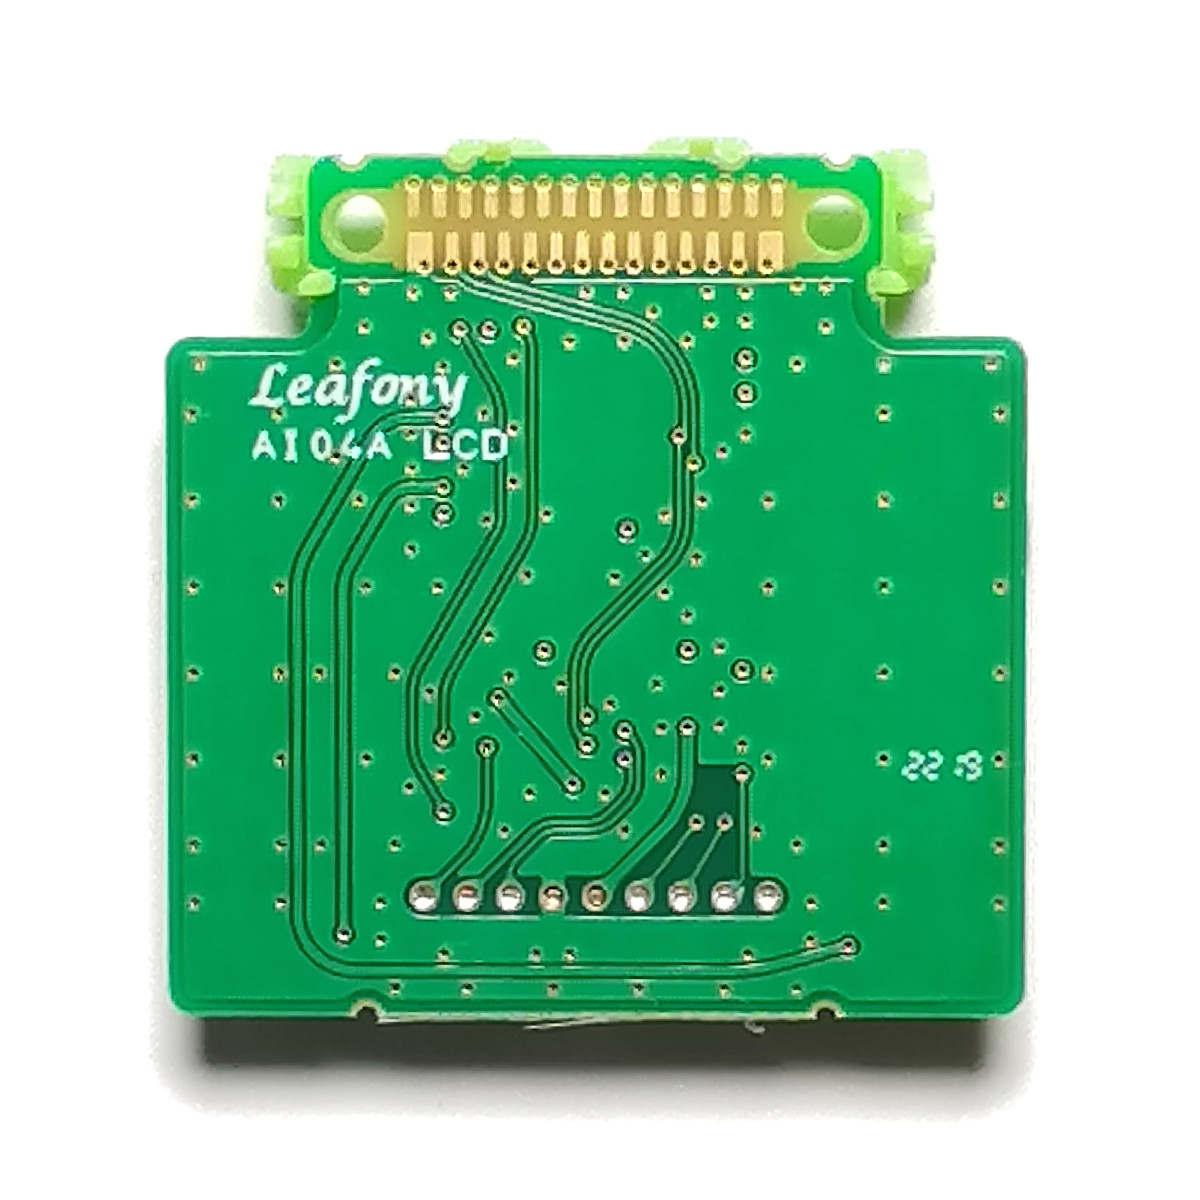
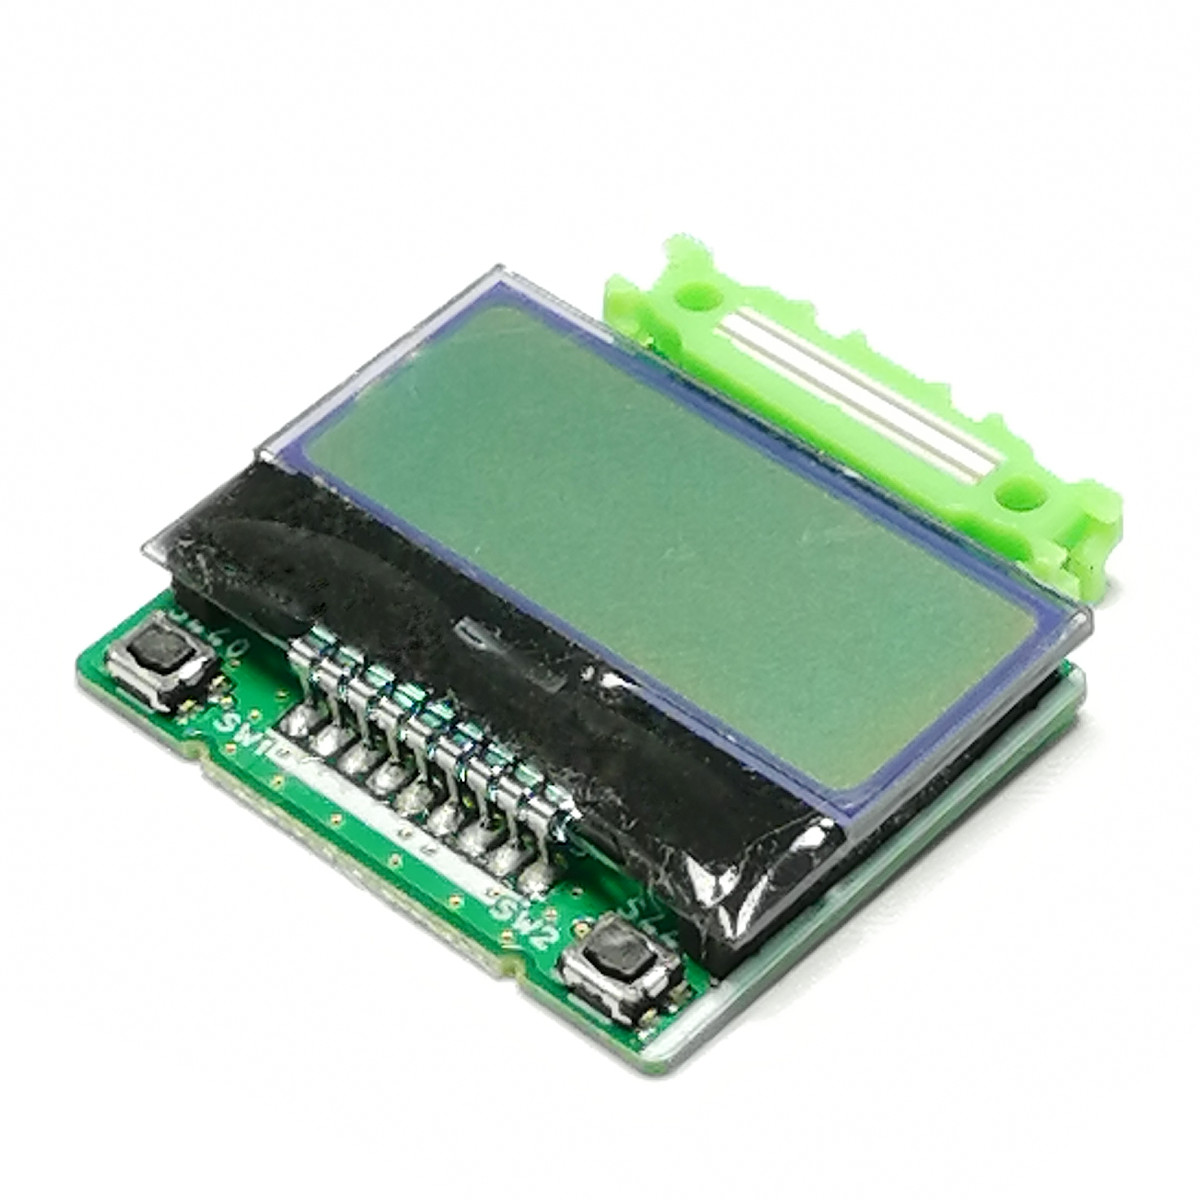
Features
Section titled “Features”Combined with an MCU (microcontroller) leaf, this leaf lets you display text and numbers on the LCD (liquid crystal display) and accept input from two switches. Add a sensor leaf to view its measurements on the display.
The LCD unit connects to the MCU leaf over I2C. One switch connects to an MCU digital input pin, and the other connects to the I2C Expander’s P1 pin. To reduce power consumption, you can turn off LCD power through a load switch controlled by the I2C Expander.
The display has 8 characters per line and 2 lines. Hello, World! (13 characters) does not fit on one line.
Specification
Section titled “Specification”Dimension
Section titled “Dimension”| Item | Description |
|---|---|
| Dimension | W30.8×D30.5×H5.3mm |
| Item | Description |
|---|---|
| Part number | AQM0802A-RN-GBW |
| Display format | 8x2 Character |
| Viewing area (WxH) | 27x10.5mm |
| Dot size (WxH) | 0.45x0.5mm |
| Dot pitch (WxH) | 0.5x0.55mm |
| Character size (WxH) | 2.45x4.35mm |
| Character pitch (WxH) | 2.95x4.9mm |
| Viewing direction | 6:00 O’Clock |
| Driving method | 1/16Duty,1/5Bias |
| Controller IC | ST7032I-0D(Sitronix) or compatible |
| Display mode | STN (Gray)/Positive/Reflective |
| Interfaces | I2C (Address: 0x3E) |
I2C I/O Expander
Section titled “I2C I/O Expander”| Item | Description |
|---|---|
| Part number | PCA9557RGVR |
| Interface | I2C (Address: 0x1A or 0x1E) |
Block diagram
Section titled “Block diagram”
Pinassign
Section titled “Pinassign”
Powering and initializing the LCD
Section titled “Powering and initializing the LCD”Enable LCD power through the I2C I/O Expander before initializing the LCD. Calling lcd.begin() alone does not operate the leaf’s power switch.
| Device | 7-bit I2C address | Purpose |
|---|---|---|
| I2C I/O Expander (PCA9557) | 0x1A or 0x1E | LCD power control and switch input |
| LCD controller (ST7032) | 0x3E | Display settings and character data |
The AVR LCD sample uses expander address 0x1A and performs these steps:
- Start I2C with
Wire.begin(). - Configure P0 as an output with
i2c_write_byte(0x1A, 0x03, 0xFE). - Enable LCD power with
i2c_write_byte(0x1A, 0x01, 0x01). - Call
lcd.begin(8, 2),lcd.setContrast(30)andlcd.clear()in that order, then display text.
i2c_write_byte() is a function defined in the sample. Use the linked page for the complete sketch. If your expander responds at 0x1E, set the sample’s I2C_EXPANDER_ADDR to that address.
I2C responds, but the display is blank
Section titled “I2C responds, but the display is blank”Finding an address with an I2C scan or successfully sending a command does not establish that LCD power, initialization and contrast are ready for display. First check the power steps above and try the sample with its specified library. The sample intentionally turns LCD power off for 3 seconds, during which the display goes blank.
When controlling the ST7032 directly without the library, follow the datasheet initialization procedure, including the delay after power becomes stable, instruction-table selection, contrast, power and follower settings, and delays between commands. The linked library enables the follower and waits 200 ms inside begin(), then sets contrast and enables the booster in setContrast() (library implementation). Copying isolated commands can leave out required settings or delays.
About the switch
Section titled “About the switch”
| Item | Description |
|---|---|
| Switch1 | Connected to pin 2 |
| Switch2 | Connected to I2C Expander P1 pin |
Sample App
Section titled “Sample App”AVR MCU Examples
Section titled “AVR MCU Examples”ESP32 MCU Examples
Section titled “ESP32 MCU Examples”Library
Section titled “Library”The samples use arduino_ST7032 by tomozh (ST7032.h). Download the ZIP from GitHub, then install it through Sketch → Include Library → Add .ZIP Library in Arduino IDE. See the installation steps.
LCD_ST7032 and ST7032_asukiaaa are different implementations. Choose the library specified by the sample, rather than relying on a similar name.
Document
Section titled “Document”Revision history
Section titled “Revision history”- Rev A1.0: First edition, August 2019