
Extension Kit Getting Started Guide
Set up with your favorite AI
 ChatGPT
  Claude
 Gemini & other AI
Copy the setup prompt into your AI. Work through each step together, from checking your kit to getting it running.
 Open Gemini
 Copy the prompt, then paste it into Gemini’s message box.
View prompt
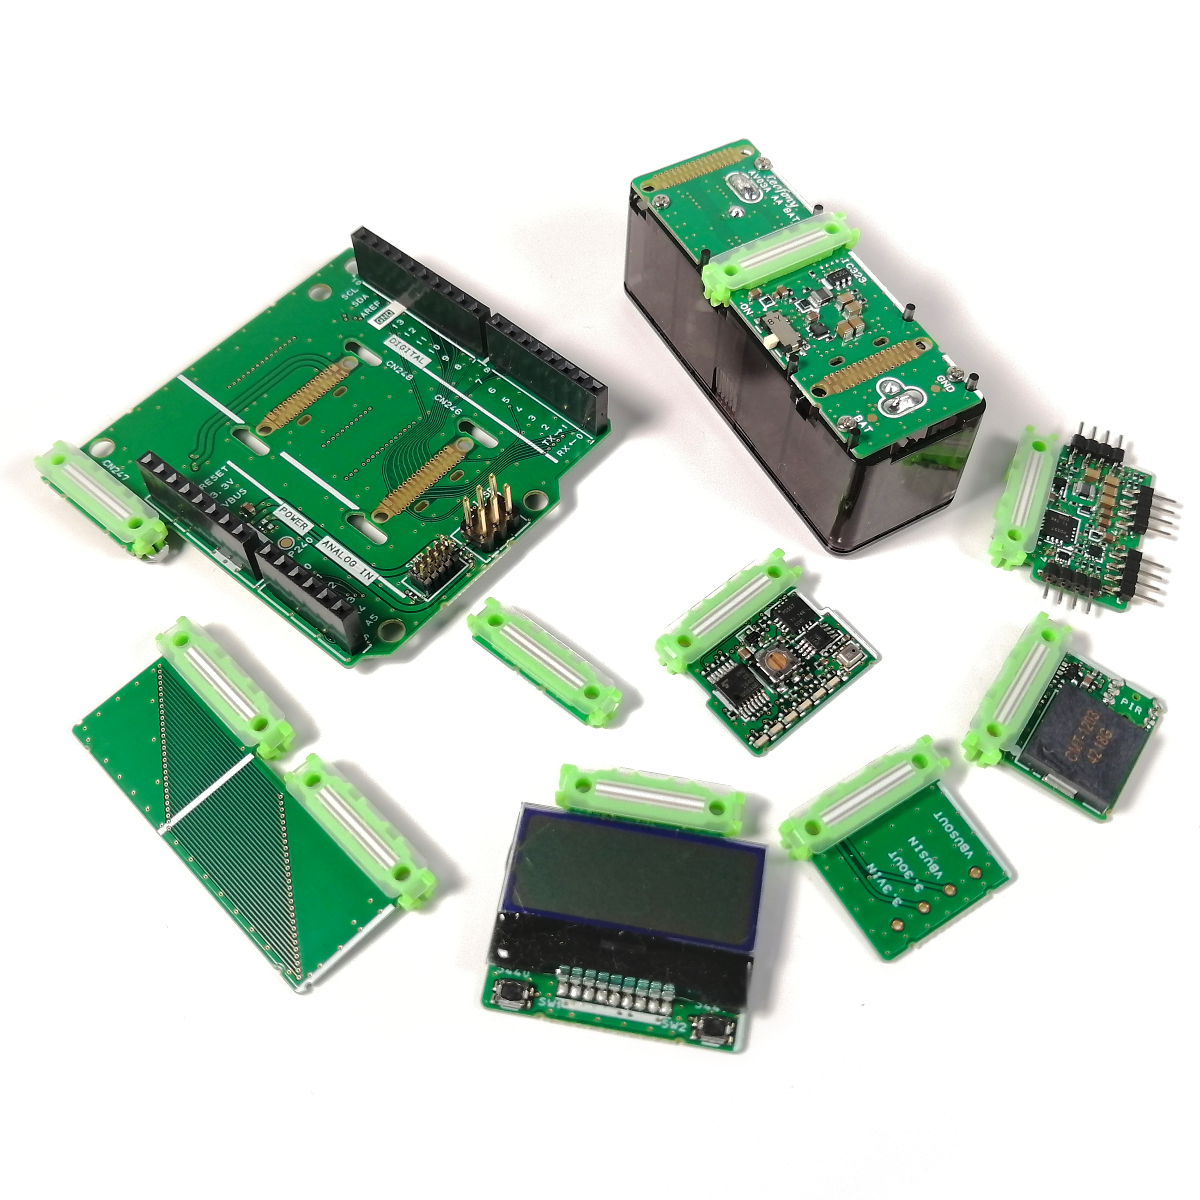
The Extension Kit adds functions such as an LCD, a motion sensor, and a MEMS microphone. It does not include an MCU leaf. Combine it with an MCU leaf from the Basic Kit / Kit 2 or ESP32 Wi-Fi Kit, and upload the program to that MCU.
You can also start with individual leaves you already own if they match the sample's configuration.
Leaves included in the kit
Section titled “Leaves included in the kit”9 types of leaves. Select a photo or name for specifications and pin assignments.

AI02 SP&PIR


Accessories and other included items
- Caution note× 1
Start by displaying text on the LCD
Section titled “Start by displaying text on the LCD”If you use AZ01 (the earlier USB leaf), follow the AVR LCD sample. If you use an ESP32 MCU, follow the ESP32 LCD sample.
What to prepare
Section titled “What to prepare”- Extension Kit, or the individual leaves for the functions you want to use
- Basic Kit / Kit 2, ESP32 Wi-Fi Kit, or compatible MCU, USB, and power leaves (check the sample's required configuration)
- A computer (Windows, macOS, or Linux) and a USB cable that supports data transfer
How to write a program
Section titled “How to write a program”If you haven't prepared the PC environment yet, please refer to Basic Kit Development Environment Settings Manual or ESP32 Wi-Fi Kit Development Environment Settings Manual to prepare.